
Upload New Products on my Account
Which file formats and size limits are supported by Veeton?
Veeton is flexible when it comes to the packshots you upload for your AI fashion photoshoots, but using the right formats and sizes will ensure the best quality. Here’s what you need to know:
Accepted file formats
PNG – Recommended for high-quality, lossless images.
JPG / JPEG – Widely supported and suitable for most product photos.
WEBP – Modern format offering smaller file sizes without compromising quality.
AVIF – Advanced compression for smaller, high-quality files.
When downloading your results, you can also choose from PNG, JPG, JPEG, WEBP, AVIF, or TIFF, giving you flexibility for your e-commerce product pages or marketing campaigns.
Size limits
Maximum file size per upload: 30 MB.
For best results, use high-resolution, well-lit images while keeping file sizes under the limit.
What types of packshots can I use with Veeton?
Veeton supports a wide range of packshot types to give you maximum flexibility when creating AI-generated fashion photos. You’re not limited to professional studio shots: our platform is designed to work with various input styles, even non-professional photos. However, the higher the quality of your packshots, the more accurate and photorealistic the AI-generated results will be.
Supported Packshot Types:
Flatlays – Clothing laid flat on a surface.
Ghost mannequin / hollow man shots – Items photographed on invisible mannequins.
Hanger shots – Products displayed on hangers.
In-house raw product photos – Simple photos taken internally, even in a backroom setting.
Non-professional product photos – Quick smartphone captures are acceptable.
Front and back views – Recommended for the best AI-generated fashion imagery.

Which parameters matter most for creating high-quality packshots and accurate AI generations?
The quality of your packshots directly impacts the realism and accuracy of Veeton’s AI-generated fashion photos. To get the best results, pay attention to the following parameters:
1. Lighting and exposure
Use even, well-distributed lighting to avoid harsh shadows or overexposure.
Natural or soft studio lighting works best to capture fabric details and true colors.
2. Background cleanliness
Choose a neutral, uncluttered background (preferably white or light gray).
Avoid busy or colored backgrounds that can interfere with the AI’s garment detection.
3. Resolution and sharpness
Use high-resolution images (up to Veeton’s 30 MB limit) for crisp edges and accurate textures.
Make sure the garment is fully in focus (blurred edges reduce generation quality).
4. Complete views
Include both front and back views of your SKU whenever possible.
For complex garments (jackets, coats, dresses), consider additional side views.
5. Garment presentation
Smooth out wrinkles and align seams before photographing.
Use flatlays, ghost mannequins, or hanger shots to display the item clearly.
How do I upload packshots in Veeton
When uploading a product packshot in Veeton, all fields (Category, Title, Reference, Gender, Description) are optional for saving your SKU, they are mainly there to help you organize and identify your products in your gallery.
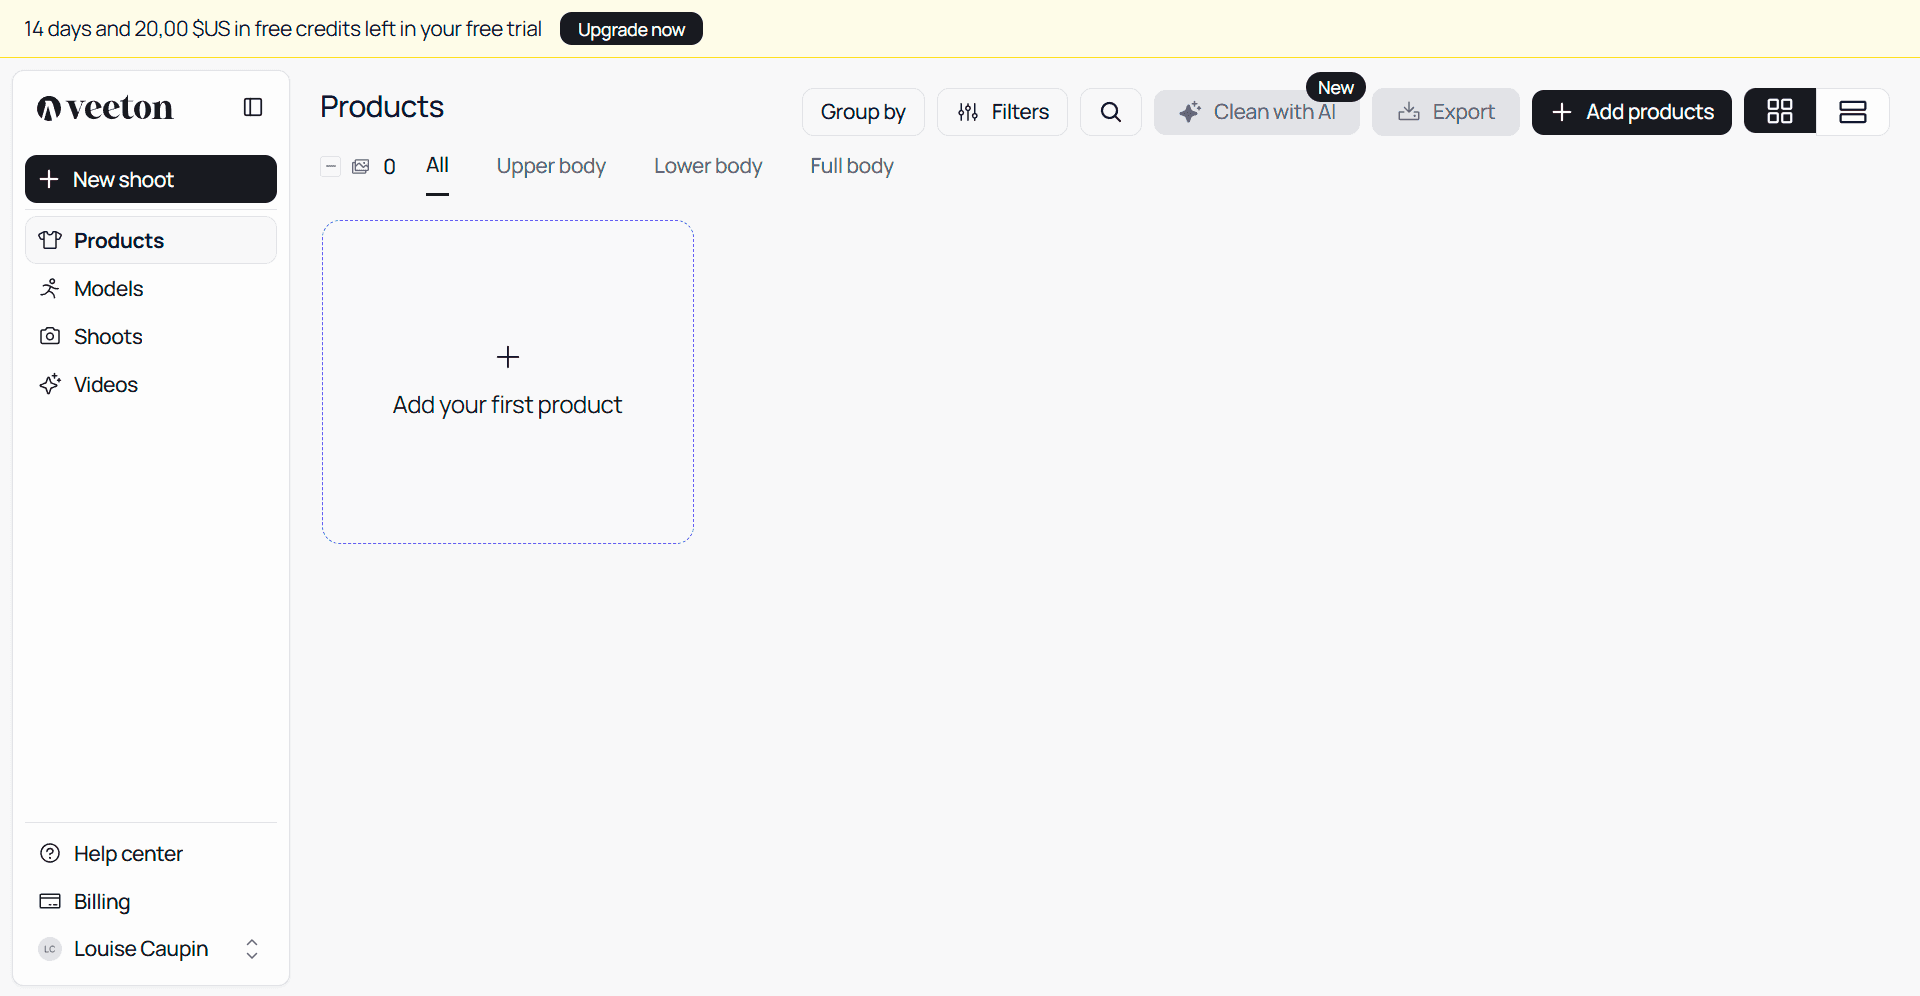
Here’s how to upload a single SKU:
Choose your upload type
Click on "Add your first product" to add one or several products.
Select a category (optional)
In the Category dropdown, choose one of the three options:
Upper body (e.g., T-shirts, shirts, sweaters, jackets)
Lower body (e.g., pants, jeans, skirts)
Full body (e.g., dresses, coats, jumpsuits)
Add product information (optional)
These fields are not required for AI generation but are useful for keeping your gallery organized:
Gender: Men, Women, Unisex, Kids.
Title: A name for your SKU (e.g., “Cotton T-Shirt”).
Reference: Your internal product code or SKU number (e.g., “SKU-12345”).
Description: A short text to help identify the product later.
To fill in the Category and Gender fields for all products at once, you can select the information in the left-hand bar. The fields for your products will then be filled in automatically.
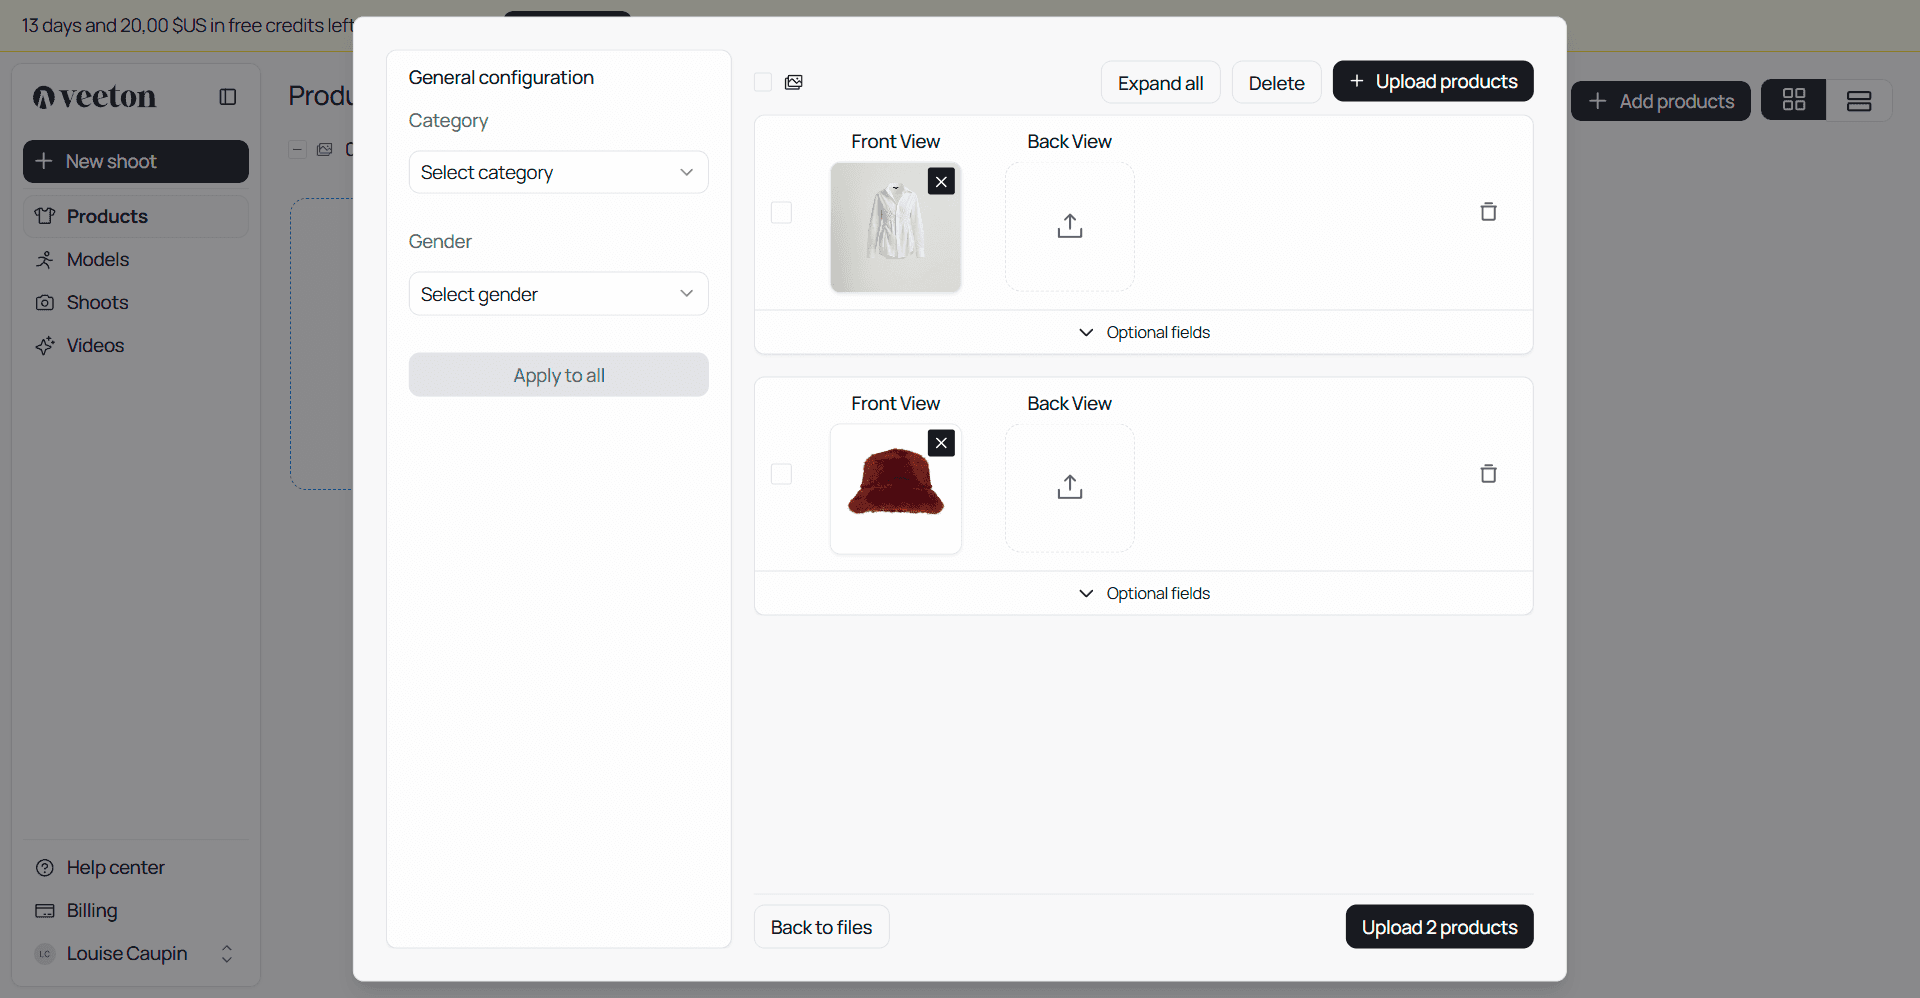
Upload your packshots
Front Image: Upload the front view of your product.
Back Image: Upload the back view (mandatory if you want to generate back view).
Supported formats: JPEG, PNG, WEBP, AVIF (maximum file size: 30 MB).
Finalize the upload
Review your entry.
Click "Upload Product" to confirm.
How do I manage my SKUs after uploading them on Veeton?
Once you’ve uploaded your SKU packshots, Veeton’s Products view becomes your central place to organize and update them. Here’s how to manage your SKUs effectively:
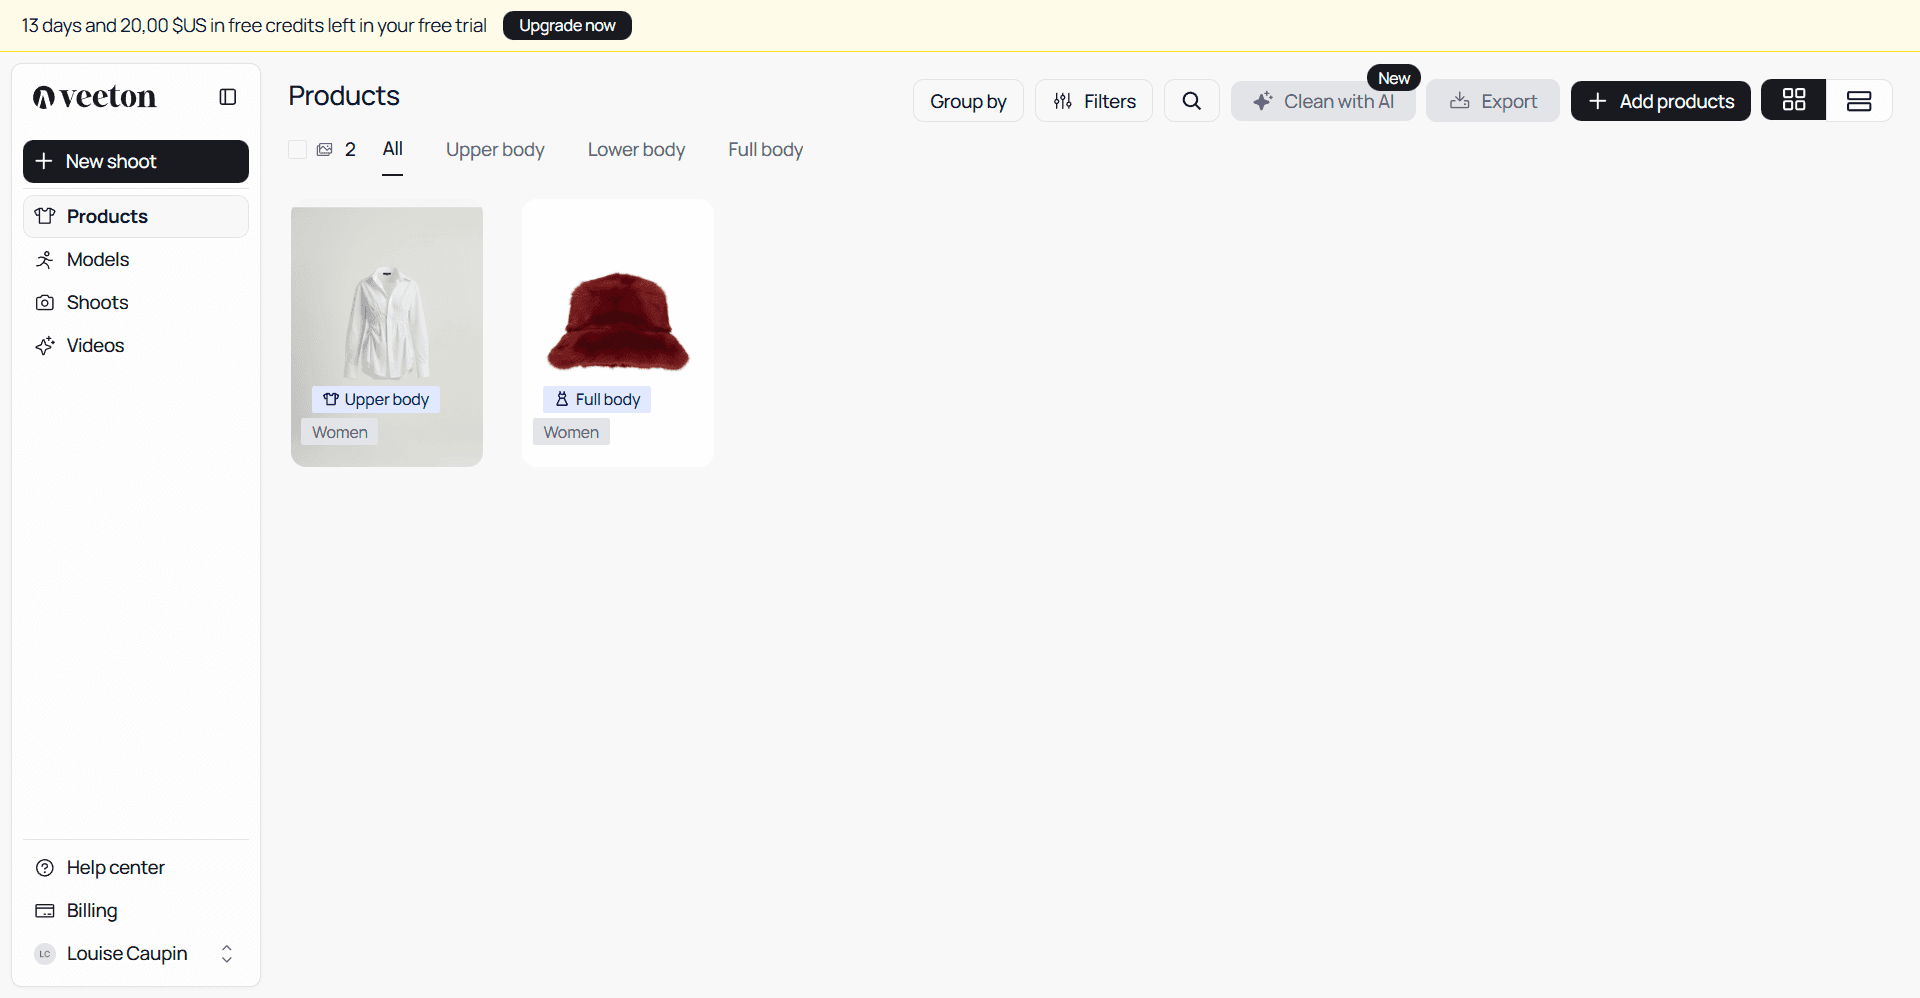
Access the products page
Click Products in the left-hand sidebar of your dashboard.
You’ll see a grid of all uploaded items, each displaying a preview image, category (Upper Body, Lower Body, Full Body), and any optional details you added (gender, title, reference).
Editing SKU details
Click on the product to edit it.
Update optional fields like Title, Reference, Gender, or Description to keep your catalog organized.
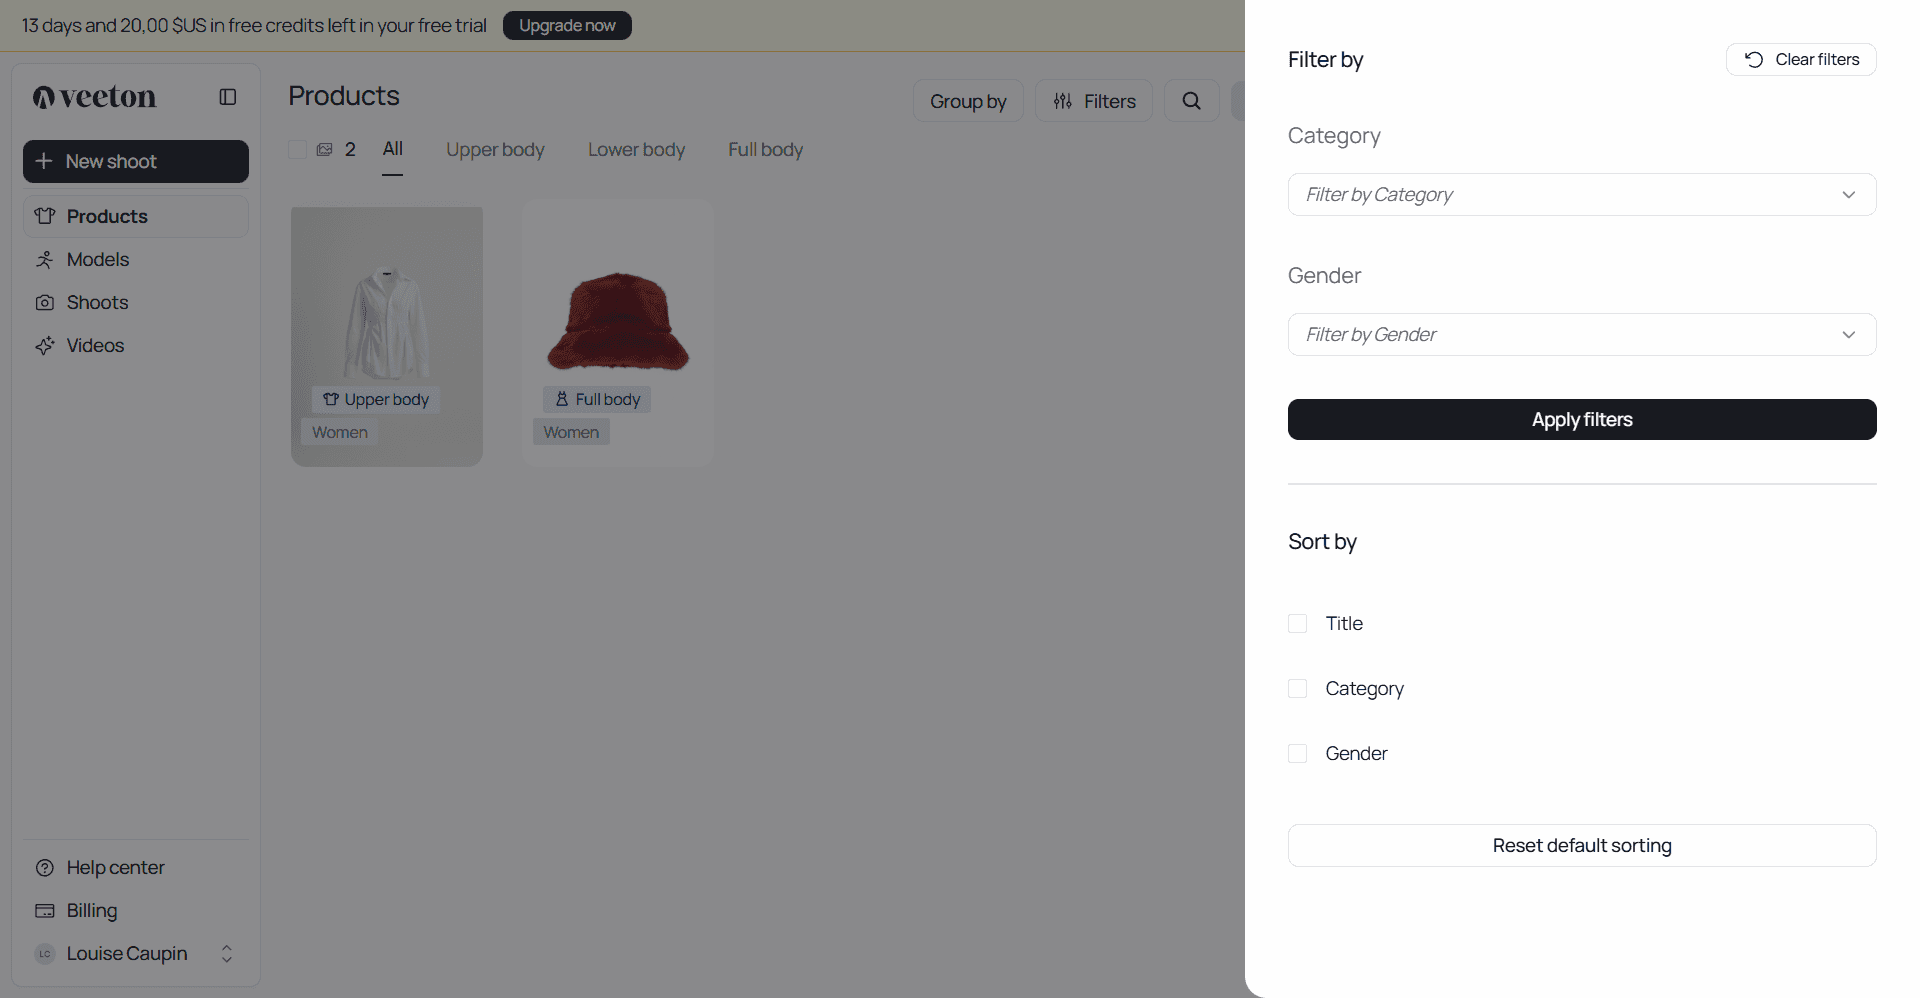
Filtering and grouping SKUs
Use the Filters button (top-right) to search by Category, Gender, or Reference.
Click Group by to organize your SKUs by category or other parameters for a cleaner view— perfect for large catalogs.
Deleting SKUs
To delete a one or several SKU, select the product(s), then click the trash icon.
Deleted SKUs are permanently removed from your library but do not affect credits already used for previous generations.
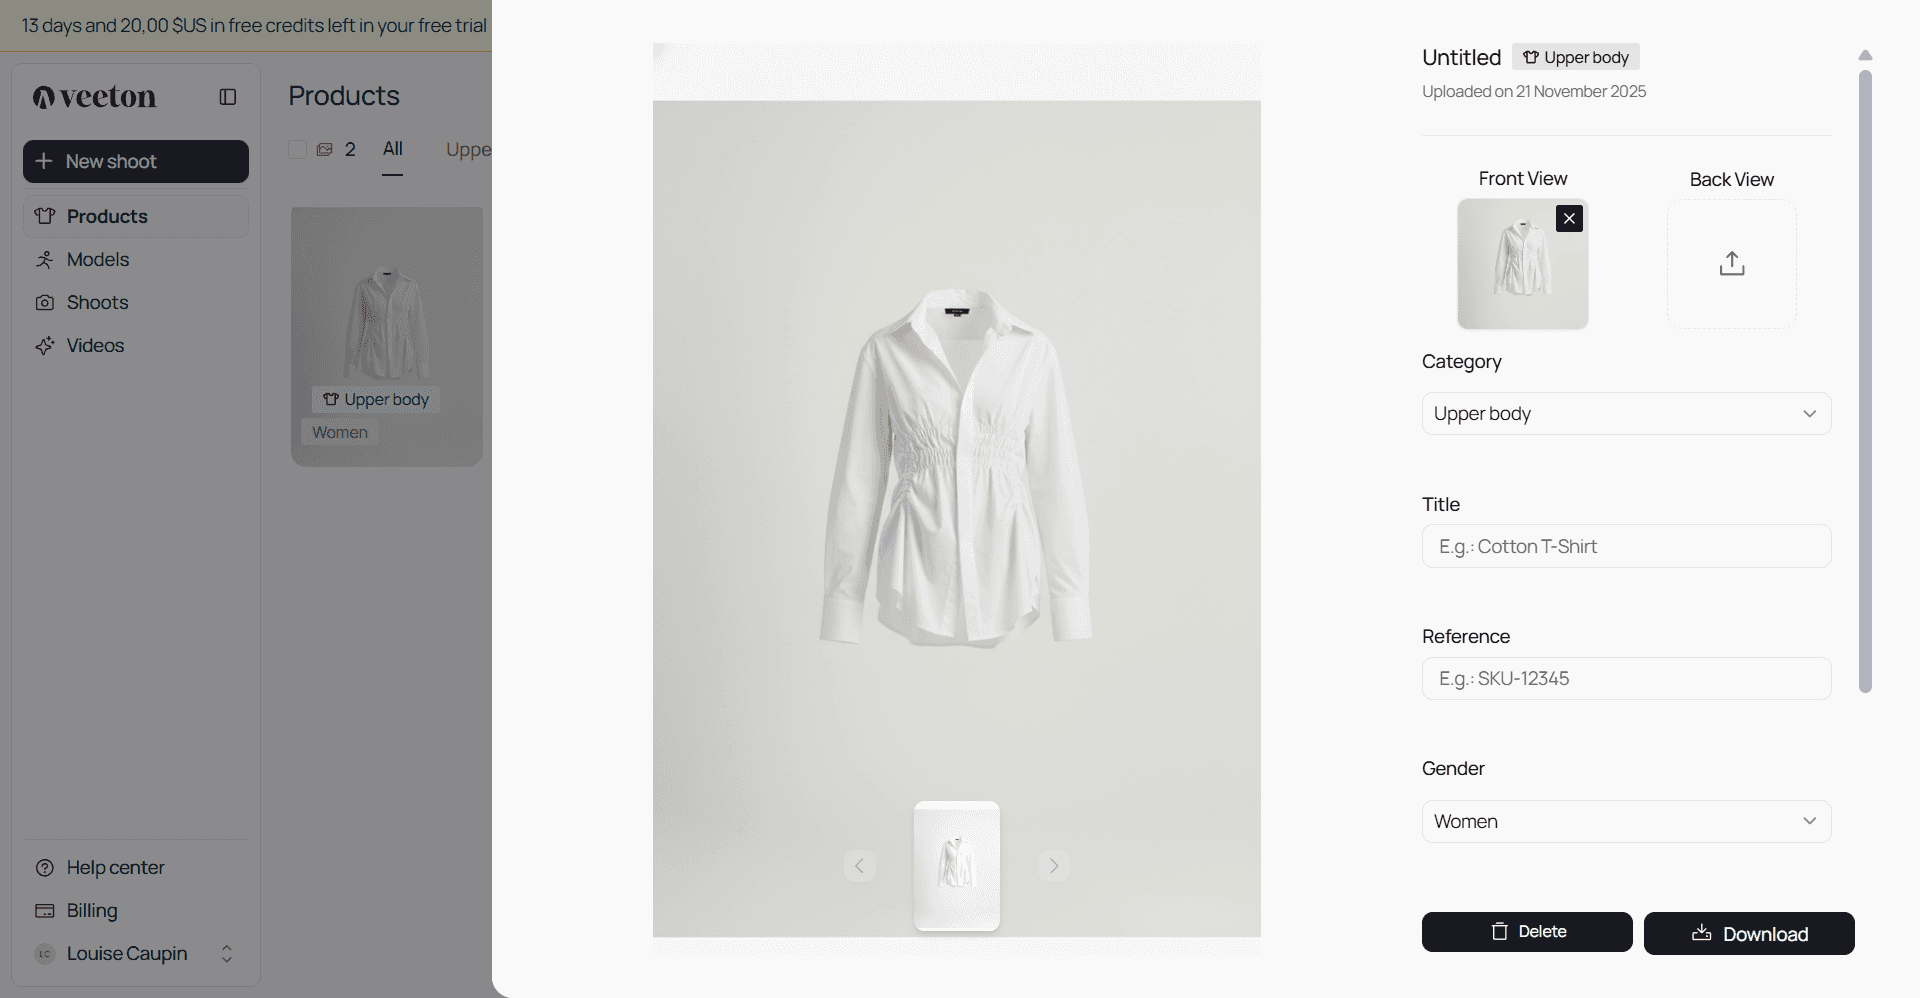
How do I edit an uploaded SKU in Veeton?
When you click on a product (SKU) in your Products library, a side panel opens with all the editable details. This panel allows you to update, organize, or delete your SKU without affecting the AI generation process.
Product information (optional)
These fields are only for your own organization within the gallery:
Category: Choose the product type (Upper Body, Lower Body, Full Body)
Title: Add a descriptive name (e.g., “Blue Cotton Shirt”).
Reference: Insert your internal product code or SKU (e.g., “SKU-12345”).
Gender: Assign Men, Women, Unisex, or Kids.
Description: Add notes or a short description to help you quickly identify the product later.
These details won’t impact the AI results, but they will make managing large catalogs much easier.
Update or delete the SKU
Once changes are made, click Update Garment to save them.
If you no longer need the product, click Delete (bottom of the panel).
Deleted SKUs are removed from your library but do not affect credits already spent on generated images or videos.