
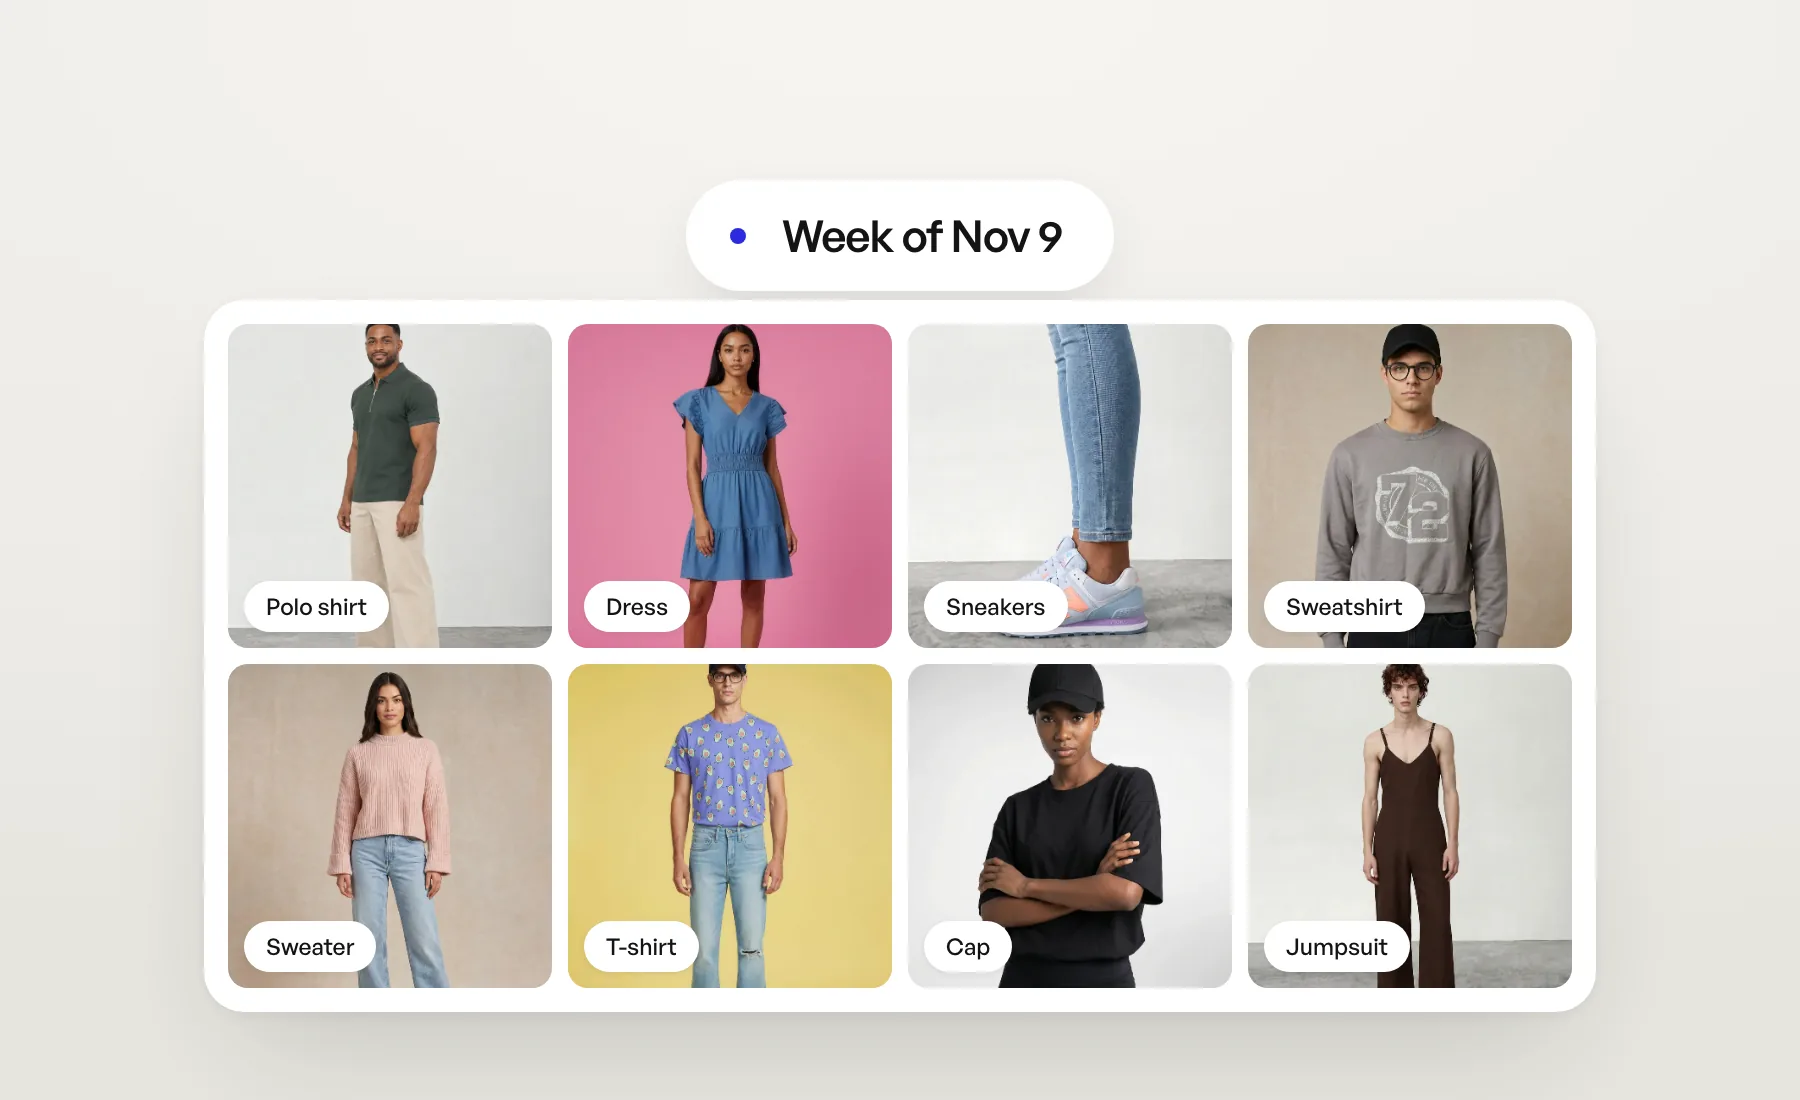
This week a result becomes a product in two clicks, every product knows what it is, and your art direction reaches all the way into the image.
Save results as products
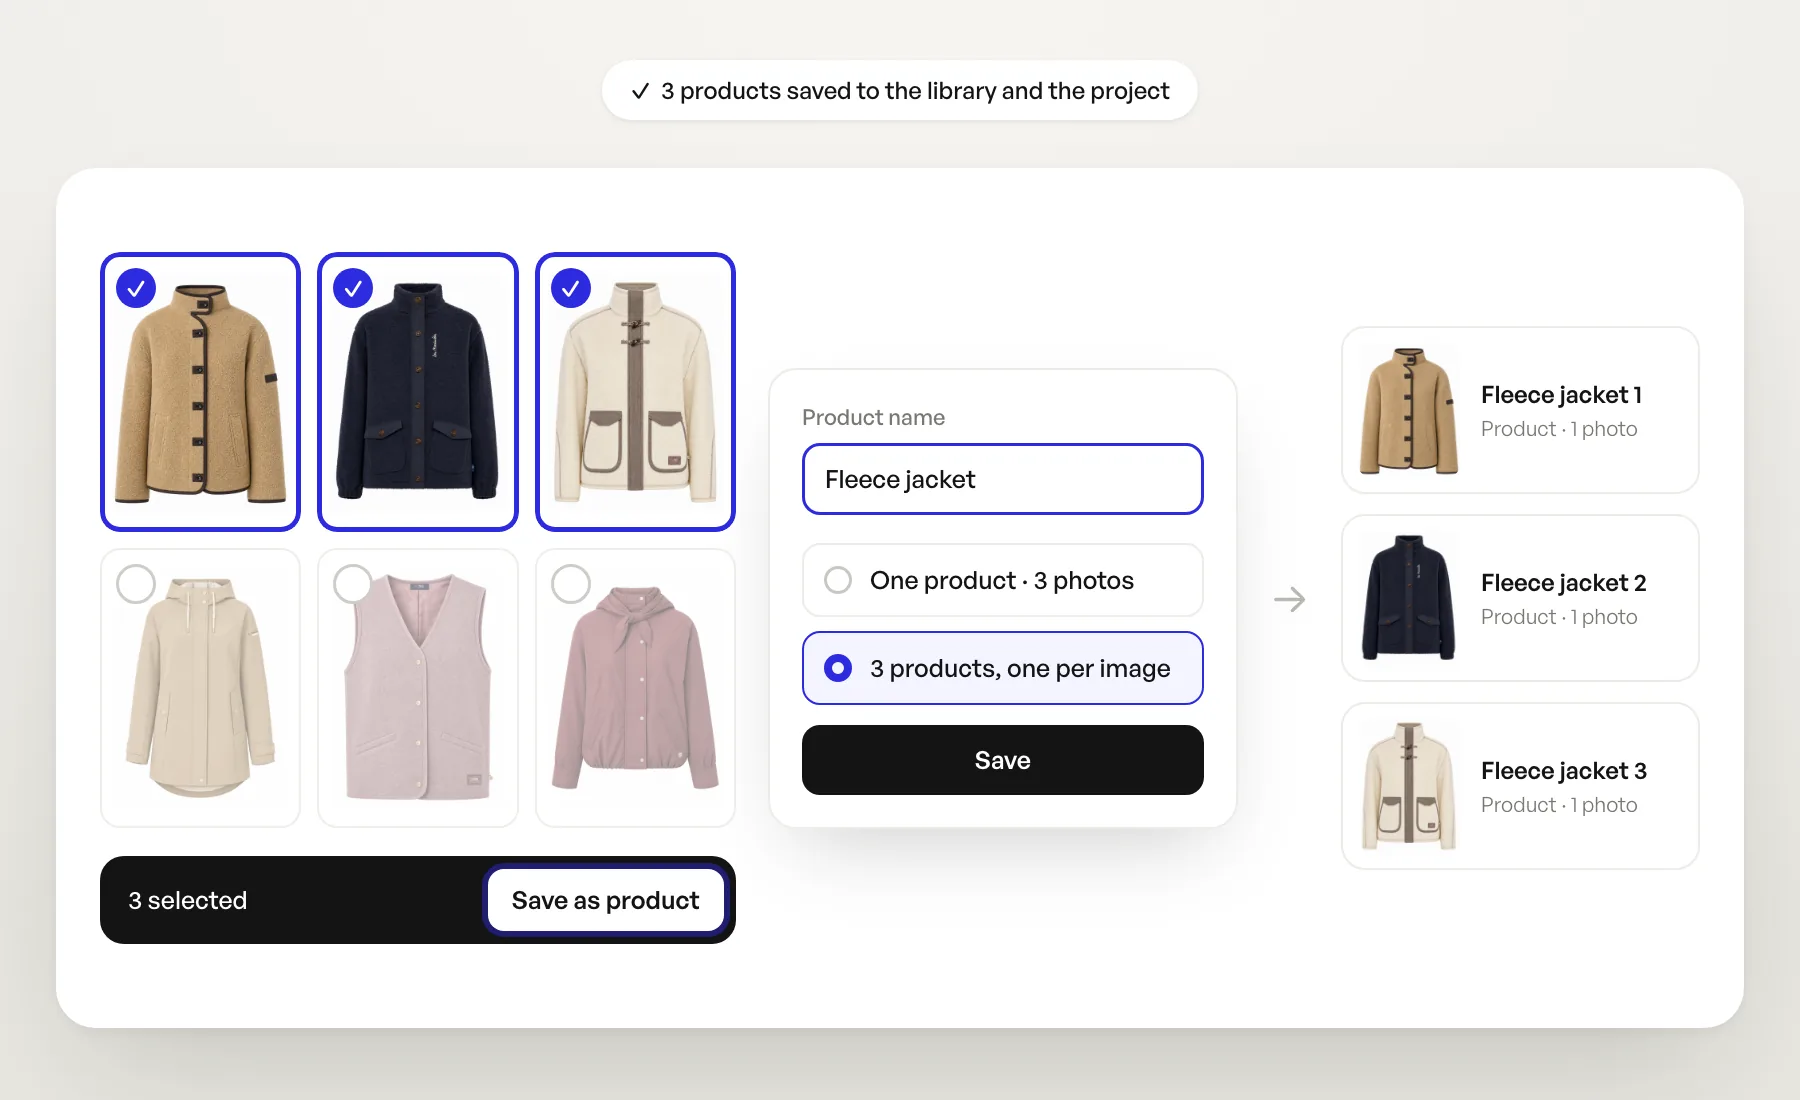
Some results are good enough to start from: a colorway you only have as a render, a look you want to shoot again on other models. Until now that meant downloading the images and uploading them again. Now select them in Results › Gallery and click Save as product in the selection bar. With a single result open, the same button sits in the bar under the image.
Name the product, then choose One product with every selected image as its photos, or one product per image, numbered after the name you typed. The new products land in your Products library and in the project the gallery is filtered on, ready for their next photo shoot. Your results stay where they are, videos in a selection are left out, and each photo's view is read for you, as with an upload. More in the help article.
Every product knows its type
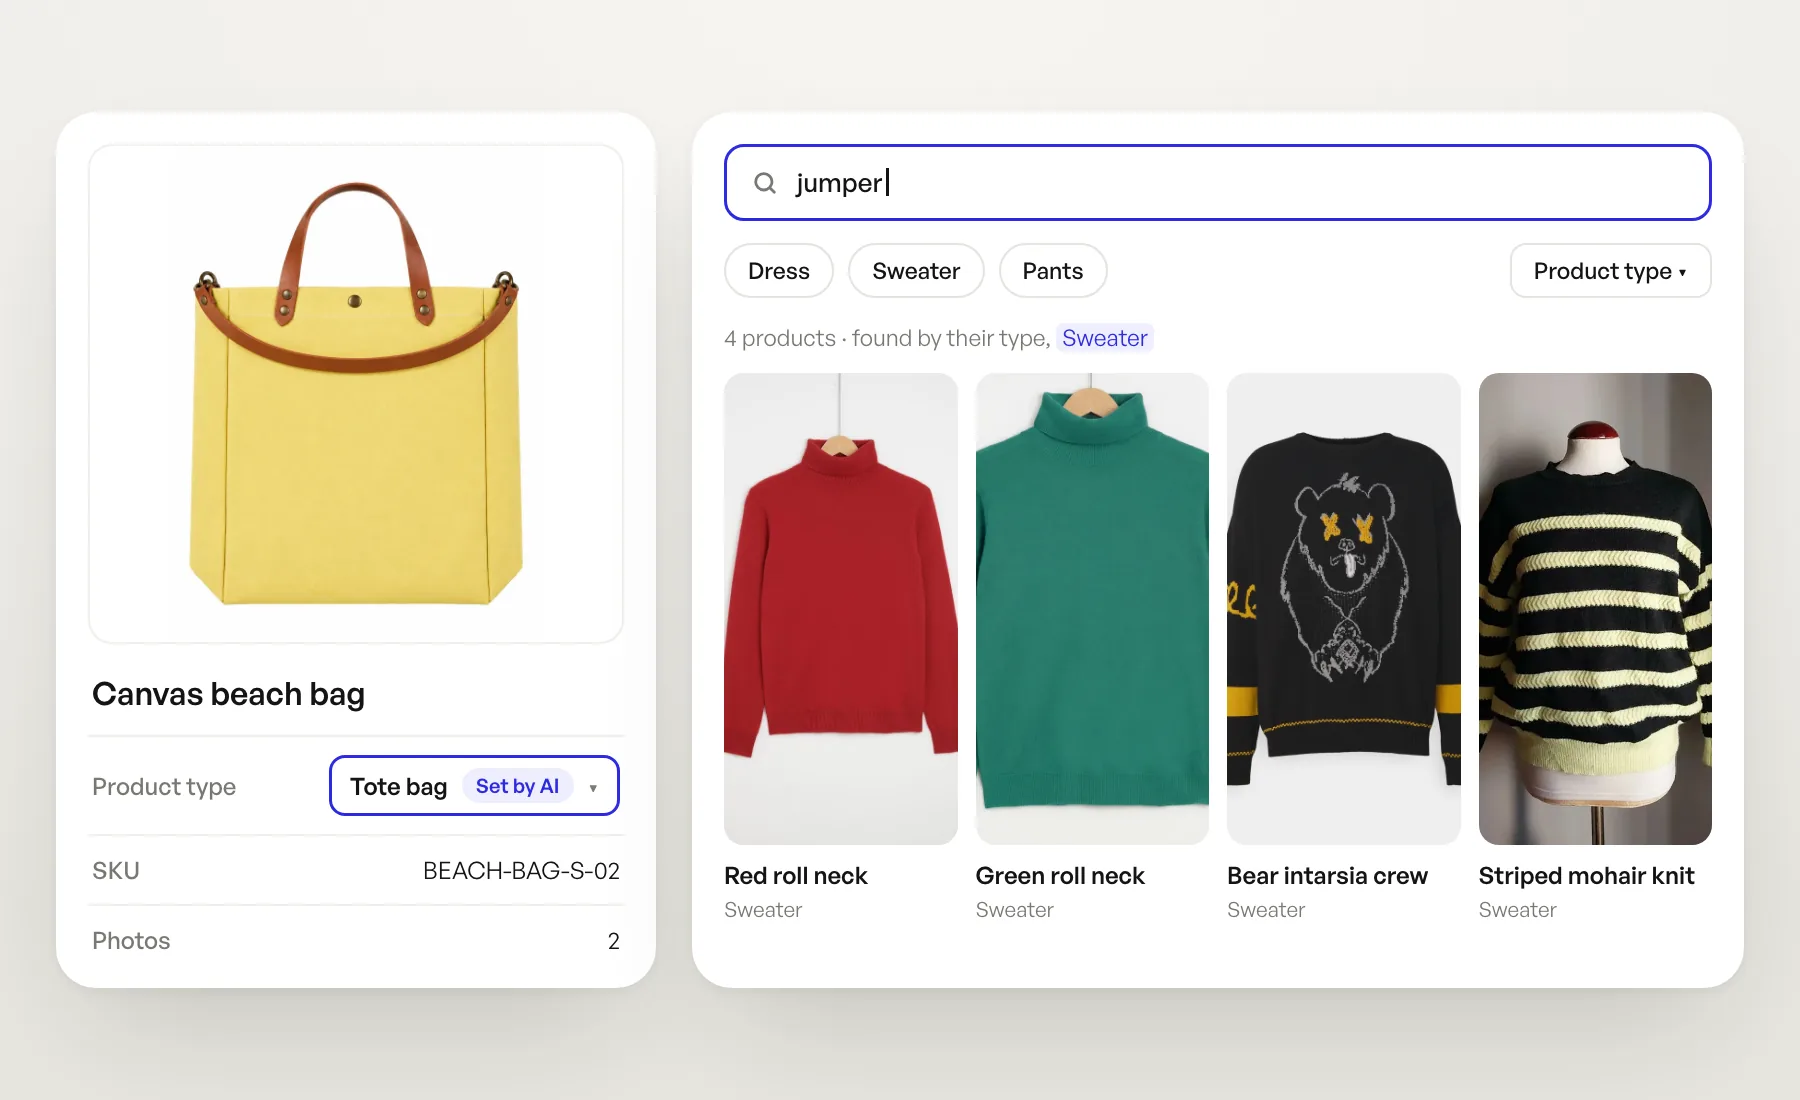
Products now carry their product type, one of 102: T-shirt, Mules, Tote bag and so on. Veeton reads it from the product's photos when you upload it, and the product sheet shows it in the Product type row, marked Set by AI. If it's wrong, pick the right one: your choice is never overwritten.
Types now drive the filters. In the library, in a photo shoot's Products tab and wherever else you pick products, the Product type filter replaces the Shopify category. Types are grouped the way you'd shop them (Tops, Bottoms, Shoes, Bags & leather goods…), and No type yet comes first, so a product the AI hasn't typed never disappears. The quick chips beside the filter are your organization's three most-used types, not a fixed list.
Search speaks your customers' words too, in English and French. "jumper" finds your sweaters, "trainers" your sneakers and "sacs à dos" your backpacks, even when the word is nowhere in the product's name. Combine them freely: "robe rouge" finds the dresses whose name says rouge. Search in your results works the same way, and Louis can list your products by type.
Art direction rules that shape the image
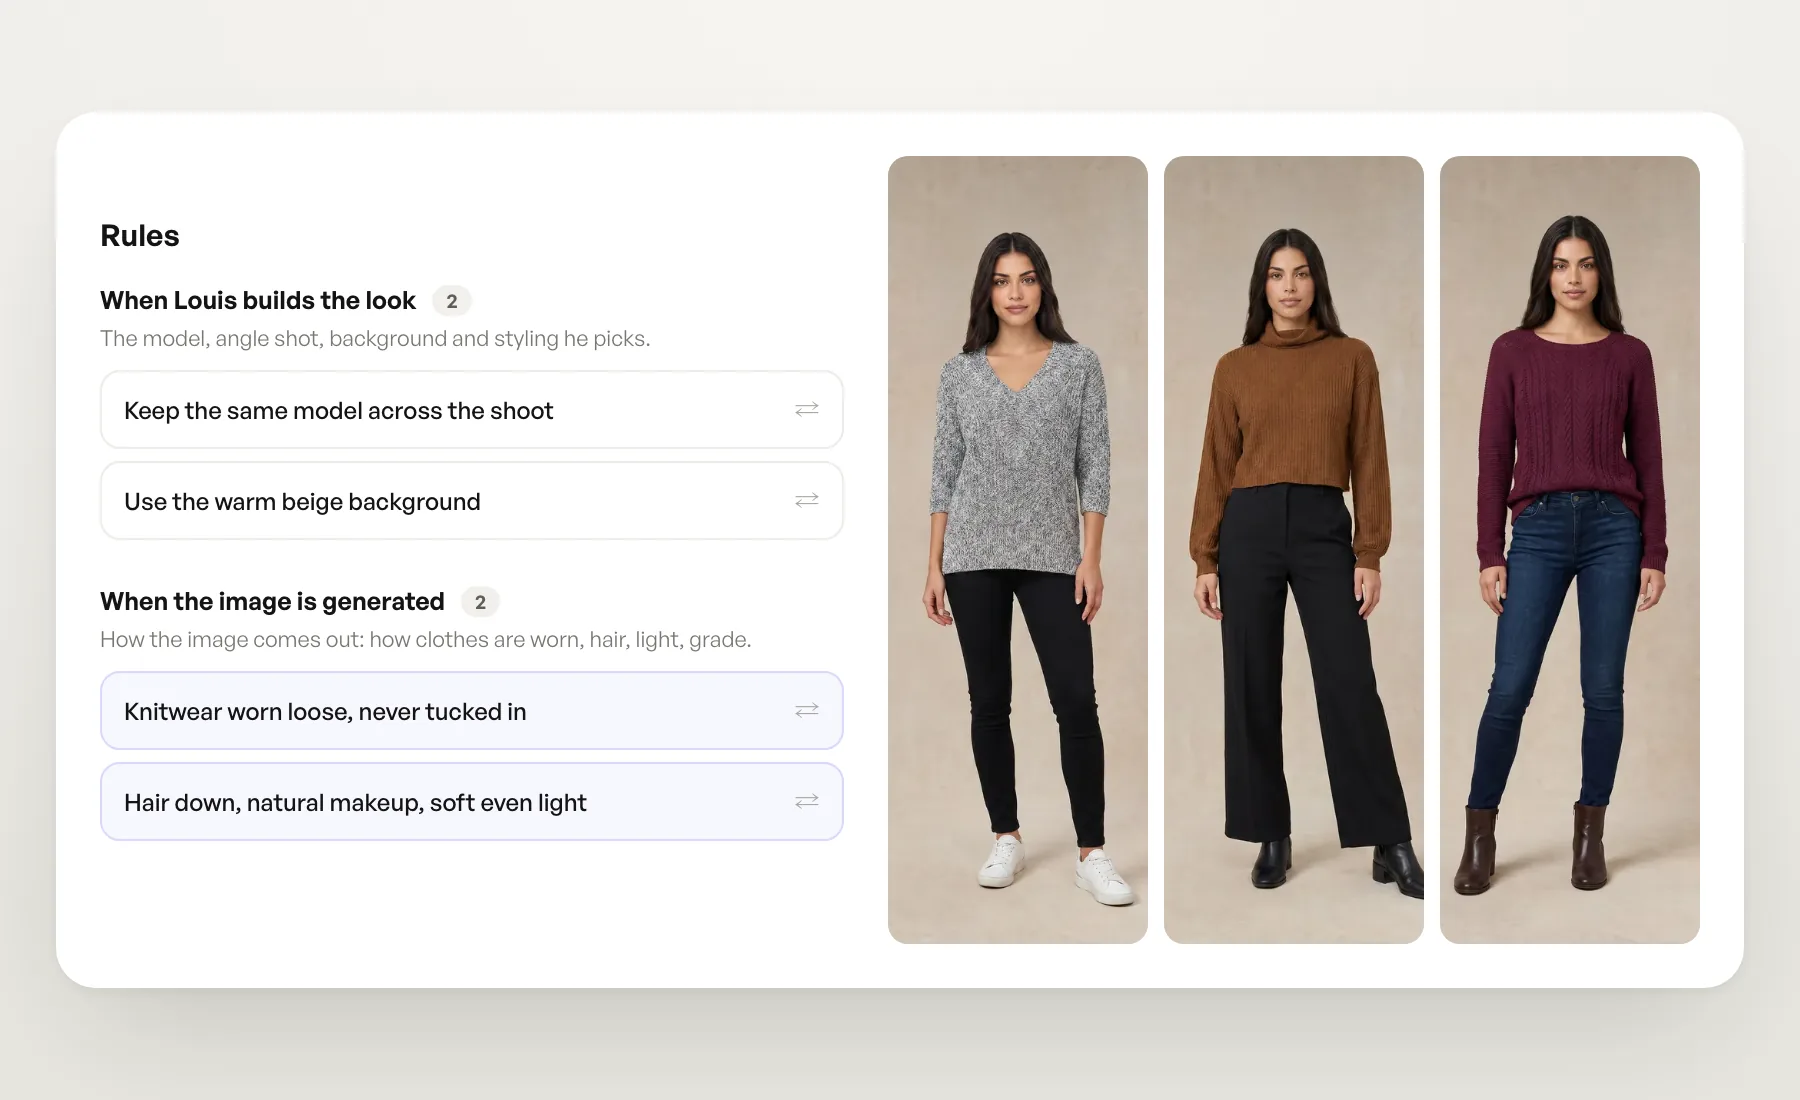
An art direction's rules used to guide only Louis's picks. Now they come in two lists. When Louis builds the look holds what he follows when he picks the model, angle shot, background and styling. When the image is generated holds what shapes the picture itself: how the clothes are worn ("Jackets are always worn open"), hair and makeup, light, color. Write a rule the way you'd brief a photographer. It's filed in the right list as soon as you leave the field, a rule that asks for both is split in two, and the ⇄ button moves one that landed in the wrong list.
Rules apply from the next launch: images already generated keep the rules they were made with.
The art direction's assets now spread across the whole shoot. Its models and backgrounds take turns across your product configurations instead of one repeating everywhere, each model matched to the product's sex. Its angle shots are all used, up to four per configuration, and its products are worn with each configuration's main product, one of each kind. More in the help article.
Choose where the model looks
Gaze now has three options: Auto, Look at the camera and Look away. Auto, the default, keeps the gaze of the angle shot you picked, so a custom angle shot looks where the model in your reference photo looks. Look at the camera now always turns the model to the lens, whatever the angle shot; a back view keeps its pose. Look away turns the model's eyes away from it. Set it in a photo shoot's Advanced panel or in a product configuration's row, and find it again in a result's details. More in the help article.
Fixes and smaller changes
- Comments sit beside the image. In the result viewer, comments now live in the left panel under the result's details, with the reply box always open. On a phone, the comments button works as before.
- Louis finds models by their look. Ask for "a redhead" or "green eyes", in whichever language you write in.
- Large results keep their size. Upscales and other results wider than 3,000 px used to be cut down to 3,000 px once finished. They now keep their full size.
- Plans in your currency. The Plans tab, the paywall and checkout now always show the currency you're billed in, also once your trial has ended.
- For API users. Every task now returns
quality_checkwith what the automatic check found on a photo shoot result, and the newtask.quality_checkedwebhook tells you when it lands.gazetakesauto, now the default.
Open Veeton to try it.